Start Chat
The Start Chat is the core area for interacting with your agents. Here, you can talk to different agents, upload files, use voice input, and manage your chat history.
🤖 Start Chatting
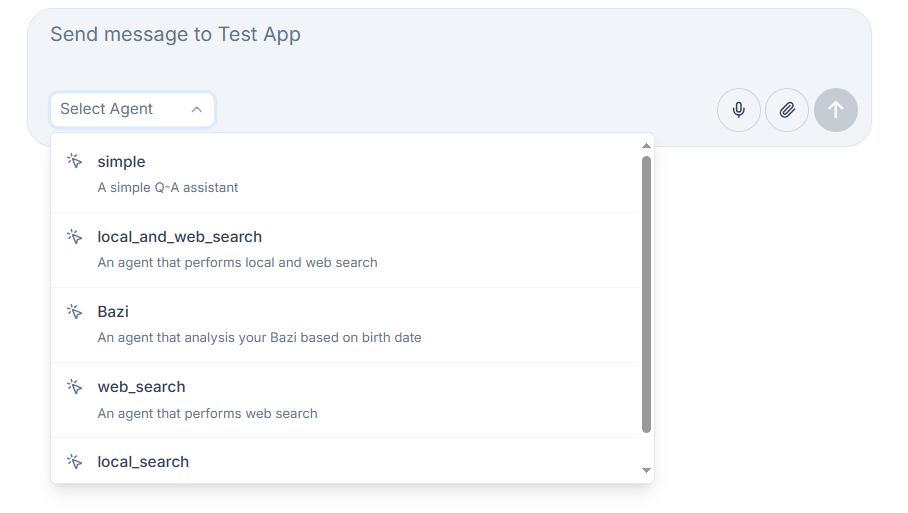
Select an Agent
Before starting a chat, you need to select an agent.
View Available Agents
- Find the agent selection dropdown in the lower left corner of the chat box
- Click the dropdown to view all available agents
- Each agent displays its name and description
Switch Agents
- Select the agent you want to chat with from the list
- The system will automatically switch to the selected agent
- You can start a new chat after switching
Send Text Messages
After selecting an agent, you can send text messages in the following ways:
Enter your question
- Type your question or command in the input box at the bottom
- Press
Shift+Enterto insert a line break
Send Message
- Click the send button on the right side of the input box
- Or press
Enteron your keyboard - The agent will start processing your request and generate a reply
View Replies
- The agent’s reply will be displayed in real time in the chat area
- The reasoning process will be shown as cards for easy distinction
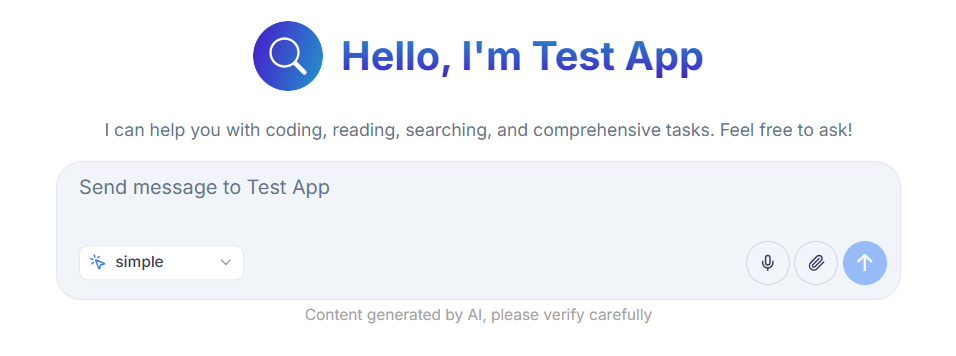
Use Voice Input
Nexent supports voice input (make sure you have configured the speech model under Model Management beforehand) so you can interact by speaking:
Enable Voice Input
- Find the microphone icon in the lower right corner of the input box
- Click the microphone icon to enable voice input
- The first time you use it, you’ll be asked for microphone permission—please click "Allow"
Start Speech Recognition
- After granting permission, the microphone icon will change to recording mode
- Speak your question or command clearly
- The system will convert your speech to text in real time and display it in the input box
Complete Voice Input
- After speech recognition is complete, the system will automatically send the message
- You can also manually edit the recognized text before sending
- Both Chinese and English speech recognition are supported
💡 Tip: For better recognition results, use it in a quiet environment and articulate clearly.
Upload Files for Chat
You can upload files during a chat so the agent can reason over their content:
⚠️ Important:
- Multimodal file conversations require the agent to have the corresponding parsing tools enabled during agent development. 2. For document or text files select the
analyze_text_filetool. 3. For image files select theanalyze_imagetool.- Each uploaded file should ideally be under 10 MB. Split large documents into multiple uploads.
Choose a File Upload Method
- Click the file upload button in the lower right corner of the input box
- Or drag files directly into the chat area
Supported File Formats
- Documents: PDF, Word (.docx), PowerPoint (.pptx), Excel (.xlsx)
- Text: Markdown (.md), Plain text (.txt)
- Images: JPG, PNG, GIF, and other common formats
File Processing Flow
- The platform stores the uploaded file in MinIO and returns an S3 URL
- It builds structured file metadata and injects it into the active conversation
- The agent then answers your questions based on both the prompt and file metadata
File-based Chat
- After uploading a file, ask questions about its contents at any time
- The agent can call the relevant multimodal tools to analyze, summarize, or process the data
- Multiple files can be uploaded and processed simultaneously
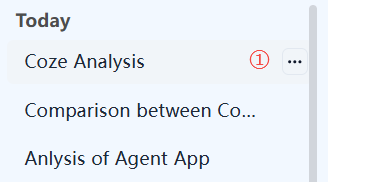
📚 Manage Your Chat History
The left sidebar provides complete chat history management:
Create a New Chat
- Click the "New Conversation" button in the upper left corner to start a brand new conversation
- The new chat will use the currently selected agent by default, but you can change it
View Chat List
- Chat Titles: The system automatically generates titles based on chat content, which you can edit at any time
- Time Sorting: Chats are sorted by time, showing "Today" and "Last 7 Days" records
- Continue Chat: Click any chat in history to view details and continue the conversation
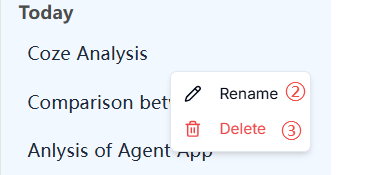
Manage Chat Records
- Edit Chat
- Hover over a chat title to see the "..." button on the right, click to edit
- Rename Chat
- Click "Rename" to change the chat title, press Enter to confirm
- Delete Chat
- In edit mode, you can delete unnecessary chats
- Deletion is irreversible, please operate with caution
💡 Tip: Regularly cleaning up unnecessary chat records keeps the interface tidy and improves search efficiency.
Access Other Modules
Use the left navigation bar to jump to other modules at any time:
- Agent Space – Review and manage all agents you have built.
- Agent Studio – Continue creating or editing agents.
- Model Management – Update app information and model credentials.
- Knowledge Base – Upload, summarize, and organize documents.
- Memory Management – Configure multi-layer memory and sharing rules.
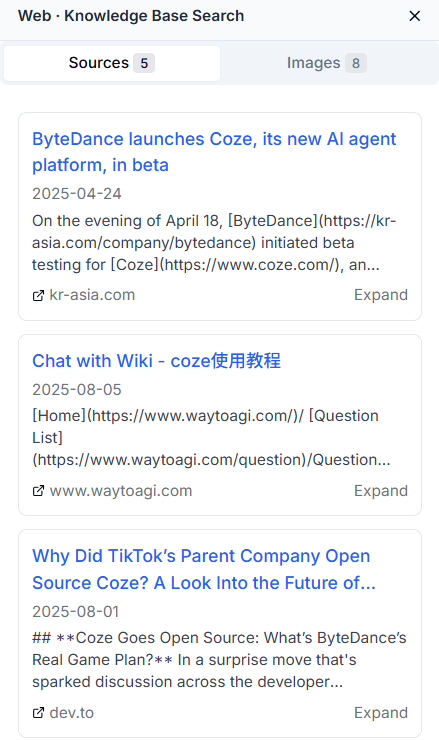
🔍 View Knowledge References
The right sidebar provides two tabs: "Source" and "Images" to help you understand the sources of agent responses:
References Tab
Shows the knowledge sources cited by the agent’s reply
Displays text block titles and source file names
Click "Expand" to view the full content of the text block
Helps you understand what information the agent retrieved from your local knowledge base
Network Search Results
- Shows webpage titles and source URLs
- Click "Expand" to view detailed content
- Click the webpage title to jump directly to the original page
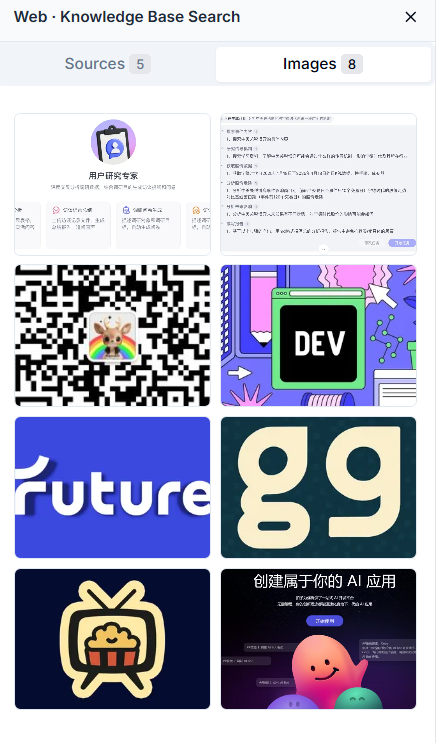
Images Tab
- Displays related images retrieved from network search
- Click any image to preview
- Helps you visually understand relevant information
🎭 Multimodal Interaction Experience
Image Processing
Nexent supports image input and processing (make sure a vision model and the analyze_image tool are configured):
Upload Images
- Drag image files directly into the chat area
- Or click the upload button to select image files
- Supports common formats (JPG, PNG, GIF, etc.)
Image Analysis
- The agent will automatically analyze image content
- It can recognize objects, text, scenes, etc. in images
- Answers your questions based on image content
💡 Tip: Nexent will soon support richer multimodal interaction modes, including video processing, audio analysis, and more. Stay tuned!
⚙️ Backend Operation Mode
Multitasking
Nexent supports backend operation mode, making you more efficient when handling complex tasks:
Parallel Tasks
- During a chat, you can switch to other windows or applications
- The agent will continue processing your tasks in the background
- Processing will not be interrupted by window switching
Real-time Status Monitoring
- Each chat in the left sidebar has a status indicator
- 🟢 Green dot: Chat in progress
- 🔵 Blue dot: Chat completed
- Click any chat to view processing progress
Improve Work Efficiency
- Backend operation mode greatly improves your work efficiency
- You can do other work while waiting for the agent to process
- Especially suitable for long analysis or generation tasks
🚀 Start Your Nexent Journey
Congratulations! You now master all the core features of Nexent. We look forward to seeing you create amazing applications with Nexent!
Get Help
Need help? Check the FAQ or open a thread in GitHub Discussions.